https://www.ls-casting-mold.com/wp-content/uploads/2026/04/d8028386-32e6-11f1-bfa2-fa163e87ad45.jpg
327
600
lsmojv
http://www.ls-casting-mold.com/wp-content/uploads/2018/12/lslogo-300x138.png
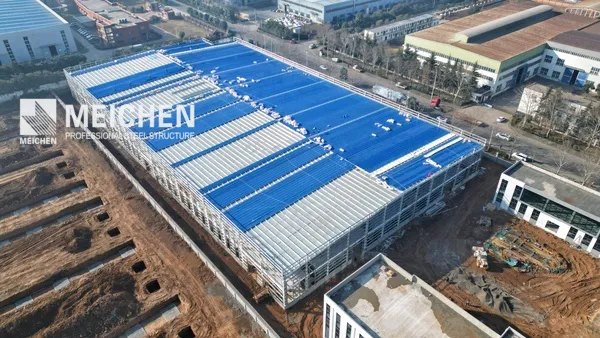
lsmojv2026-06-30 15:32:572026-06-30 15:32:57Factores clave que influyen en los costos del taller de estructuras de acero
https://www.ls-casting-mold.com/wp-content/uploads/2026/04/image_1775663189.jpg
450
600
lsmojv
http://www.ls-casting-mold.com/wp-content/uploads/2018/12/lslogo-300x138.png
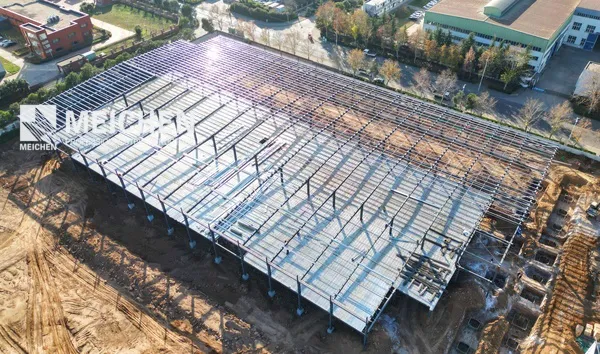
lsmojv2026-06-30 15:10:032026-06-30 15:10:03Almacén de estructura de acero frente a edificio de fábrica de hormigón: Lo que ahorra más dinero?
https://www.ls-casting-mold.com/wp-content/uploads/2025/09/wanhong-electronics-co-ltd.jpg
450
600
lsmojv
http://www.ls-casting-mold.com/wp-content/uploads/2018/12/lslogo-300x138.png
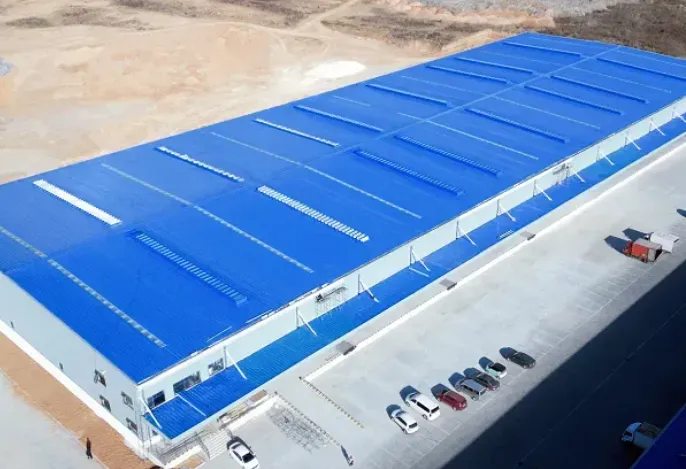
lsmojv2026-06-30 15:01:512026-06-30 15:01:51Estructuras de acero resistentes al fuego: Normas de seguridad explicadas
https://www.ls-casting-mold.com/wp-content/uploads/2024/12/langxu-1.jpg
450
600
lsmojv
http://www.ls-casting-mold.com/wp-content/uploads/2018/12/lslogo-300x138.png
lsmojv2026-06-30 14:54:322026-06-30 14:54:32Edificios de acero industriales personalizados: Flexibilidad de diseño que necesita
https://www.ls-casting-mold.com/wp-content/uploads/2024/12/luoyangxiaotangdshan-1.jpg
450
600
lsmojv
http://www.ls-casting-mold.com/wp-content/uploads/2018/12/lslogo-300x138.png
lsmojv2026-06-30 14:48:082026-06-30 14:48:0810 Preguntas esenciales antes de comprar el edificio de una fábrica de acero
https://www.ls-casting-mold.com/wp-content/uploads/2025/09/wanhong-electronics-co-ltd.jpg
450
600
lsmojv
http://www.ls-casting-mold.com/wp-content/uploads/2018/12/lslogo-300x138.png
lsmojv2026-06-30 14:41:422026-06-30 14:41:42Cómo elegir un fabricante confiable de estructuras de acero en China?
https://www.ls-casting-mold.com/wp-content/uploads/2025/09/long-purse-industrial-co-ltd.jpg
450
600
lsmojv
http://www.ls-casting-mold.com/wp-content/uploads/2018/12/lslogo-300x138.png
lsmojv2026-06-30 14:32:432026-06-30 14:32:43Reduzca los costos de mantenimiento con estructuras de acero prediseñadas
https://www.ls-casting-mold.com/wp-content/uploads/2026/04/d8028386-32e6-11f1-bfa2-fa163e87ad45.jpg
327
600
lsmojv
http://www.ls-casting-mold.com/wp-content/uploads/2018/12/lslogo-300x138.png
lsmojv2026-06-30 14:24:152026-06-30 14:24:15¿Está su edificio de acero preparado para condiciones climáticas extremas?? Descubrir
https://www.ls-casting-mold.com/wp-content/uploads/2026/04/0732ab9e-3478-11f1-9897-fa163e87ad45.jpg
450
600
lsmojv
http://www.ls-casting-mold.com/wp-content/uploads/2018/12/lslogo-300x138.png
lsmojv2026-06-30 14:16:232026-06-30 14:16:235 Razones por las que el acero supera al hormigón en los edificios industriales
https://www.ls-casting-mold.com/wp-content/uploads/2023/07/Single-layer-horizontal-sieve.jpg
400
600
lsmojv
http://www.ls-casting-mold.com/wp-content/uploads/2018/12/lslogo-300x138.png
lsmojv2026-06-30 09:45:342026-06-30 09:45:34Pruebas de control de calidad y control de calidad que todo operador de criba vibratoria debe conocer
Desplazarse hacia arriba