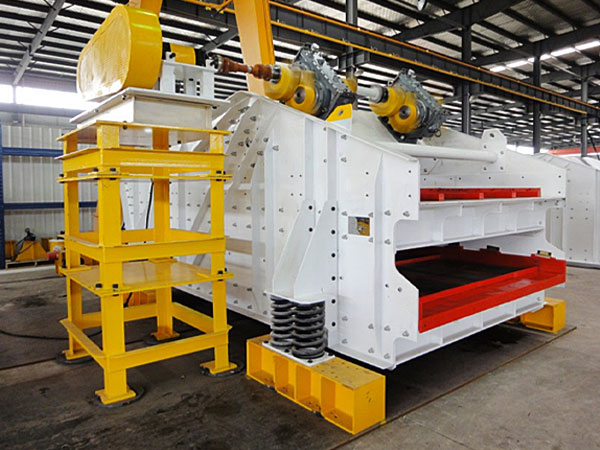
Vibrating screen mesh plays a critical role in the screening efficiency and product quality in various industrial applications. Over time, due to wear and tear or changes in production requirements, it becomes necessary to change the screen mesh. Changing the vibrating screen mesh involves a careful process of dismantling, selecting the appropriate mesh size and material, and installing it securely to ensure optimal performance.
Vibrating Screen Mesh Change

Changing a vibrating screen mesh safely is crucial for preventing injuries and ensuring the longevity of your equipment. Here’s a step-by-step guide to help you through the process.
I. Preparation: Safety First!
Read the Manual: Always refer to your vibrating screen’s owner’s manual for specific instructions, warnings, and recommended procedures. Different manufacturers may have unique requirements.
Gather Your Tools and PPE:
Personal Protective Equipment (PPE):
Safety glasses or face shield
Gloves (cut-resistant are recommended)
Steel-toed boots
Hard hat (if there’s an overhead risk)
Hearing protection
Tools:
Wrenches (open-ended, box-end, or socket set, appropriate for your screen’s fasteners)
Pry bar or flat bar (for stubborn tension rails)
Wire cutters or tin snips (if dealing with wire mesh)
Tape measure (for verifying new screen dimensions)
Brush or scraper (for cleaning)
Marker or chalk (for marking components)
Sling or hoist (for large, heavy screens, if applicable)
New screen mesh
Any necessary replacement wear parts (e.g., clamp bars, rubber strips, tension springs).
De-energize and Lock Out/Tag Out (LOTO): This is paramount!
Shut down the screen: Turn off the power at the control panel.
Isolate the power source: Disconnect the main power supply to the screen.
Apply LOTO procedures: Use locks and tags to prevent accidental re-energization during maintenance.
Verify zero energy: Confirm that the screen cannot start unexpectedly (e.g., by attempting to start it after LOTO).
Clear the Area: Remove any loose materials, tools, or personnel from the immediate vicinity of the screen to create a safe working space.

II. Removing the Old Screen Mesh:
Inspect for Remaining Material: Ensure there’s no material left on the screen surface. If necessary, use a brush or scraper to remove any stuck material.
Identify Tensioning Mechanism: Understand how your specific screen mesh is tensioned. Common methods include:
Side Tension: Clamp bars along the long sides of the screen.
…
More detailed information on the step-by-step guide to replacing vibrating screens can be found at: https://www.hsd-industry.com/news/vibrating-screen-mesh-change/


